Showing posts with label DIY. Show all posts

Tips for Decorating with White


When people see my home for the first time they always exclaim "how do you keep it clean"  or "I could never have an all white home with my children" . 

Trend - Decorating the house for autumn


Autumn is here (despite the glorious weather).  Always in the past one of those seasons for me that was just the in between stage from the fun of summer to the excitement of the buildup to Christmas in winter.

Winter Preparation - House and Garden


So Summer wasn't all that this year and now that its officially Autumn, its time to start thinking about cosying down for the colder months.  If you are anything like me,

Front Door Makeover


How long have I been married ? and blogging ?  and how often have I reminded my husband to PLEASE take before photographs if he is going to embark on some DIY when I am out !

It's finished ! The kitchen / dining room Renovation


 When we moved into this house ten years ago this month, life seemed like it couldn't possibly get any worse.  We had lost our main source of income, I was on maternity leave with six month old twins

Video of the Utility Room Barn Door

My first attempt at adding a video to my blog.  I have no idea how to make it bigger so any advice would be gratefully received !  Please excuse the shocking Birmingham accent but do admire the amazing hand crafted skill of my husband.

The Utility Room Renovation - Finished


It's done ! Finally enough cash and time have allowed my very clever husband to finish the utility room.  You can see how it all began HERE and followed up HERE .  I am so thrilled with the end result and reckon we could give any DIY Makeover programme a run for their money. The utility room started life as an outside toilet and coal shed.  When we bought the house they were enclosed with  just a small conservatory tagged onto the back of the house.  We lived for ten years with a cold, damp space for our second toilet, a boiler that broke down all the time and nowhere except for our radiators to dry damp clothes.

NOT ANYMORE !!!


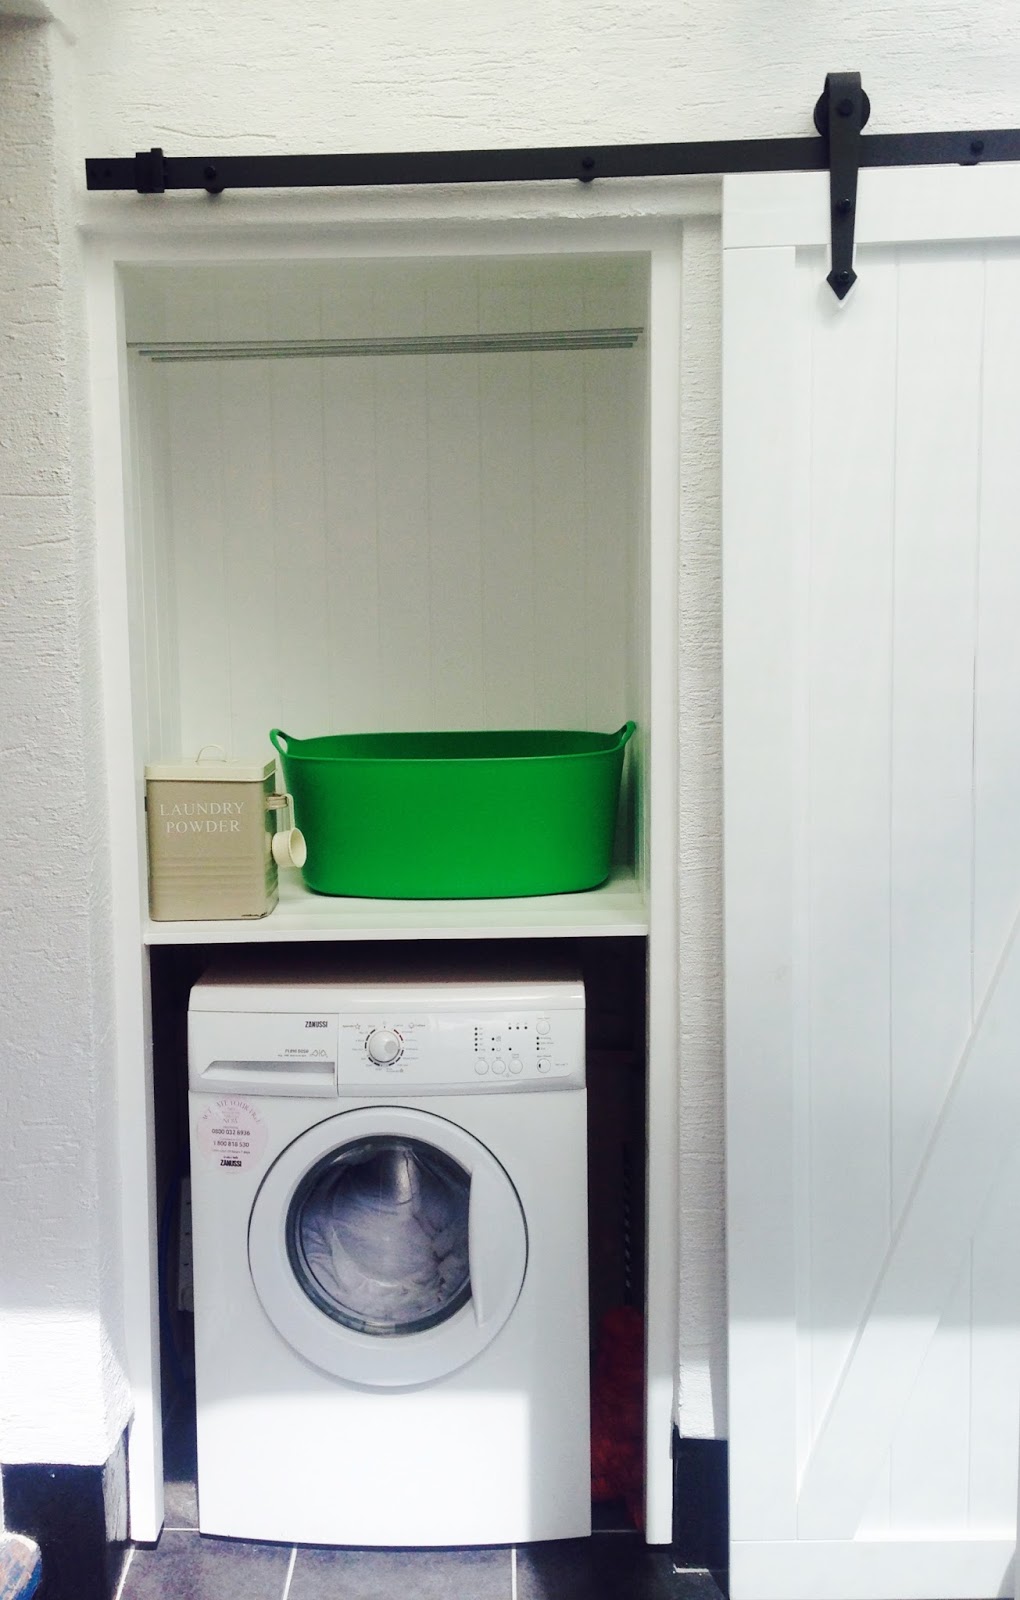
The handmade (by hubby - post to follow) Barn door slides open to reveal a great space for the washing machine, hanging space for socks, pants,smalls etc and storage of laundry basket and washing powders.  This used to be the entrance to the first outside shed and housed our old boiler.


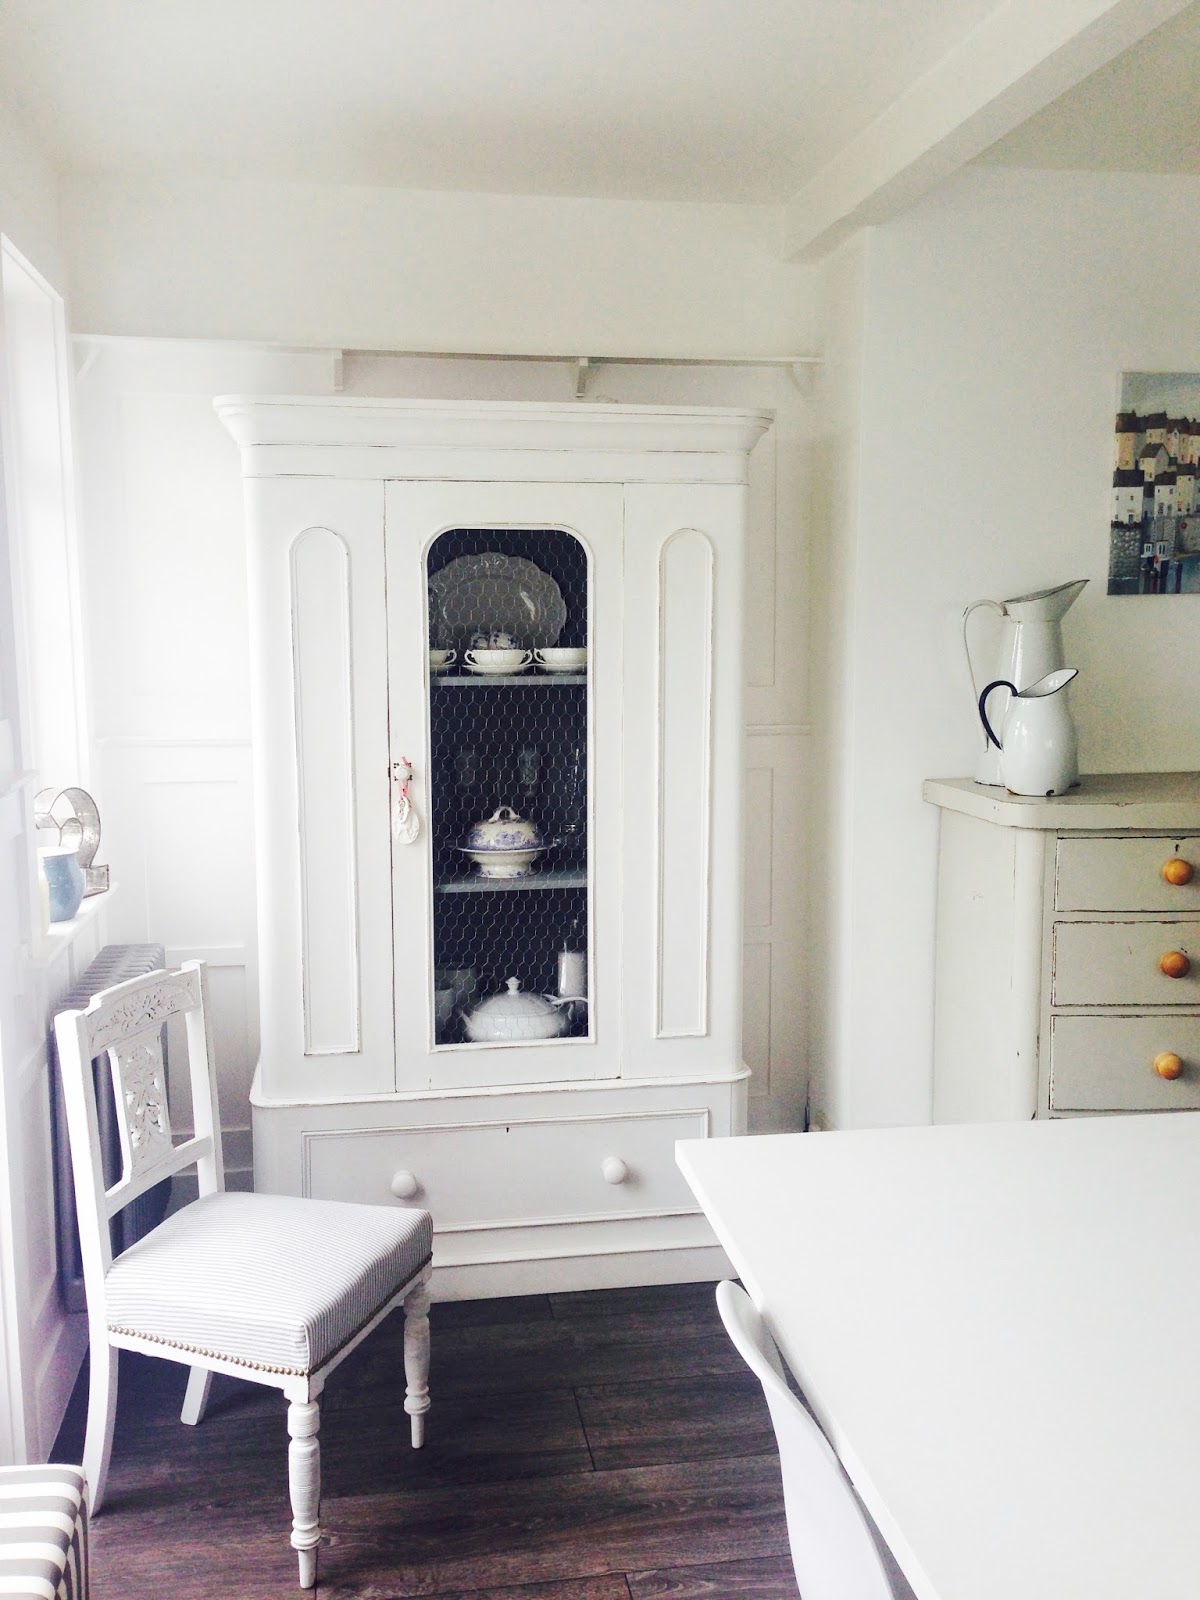
We decided to take up the old wooden flooring and lay these beautiful slate grey tiles from Homebase.  Running the tiles through into the utility room makes for a much more stylish and seamless look.  These were budget tiles (you can see details in the previous posts) but they are really good quality and are a dream to keep clean with dirty feet coming in and out of the garden all the time.


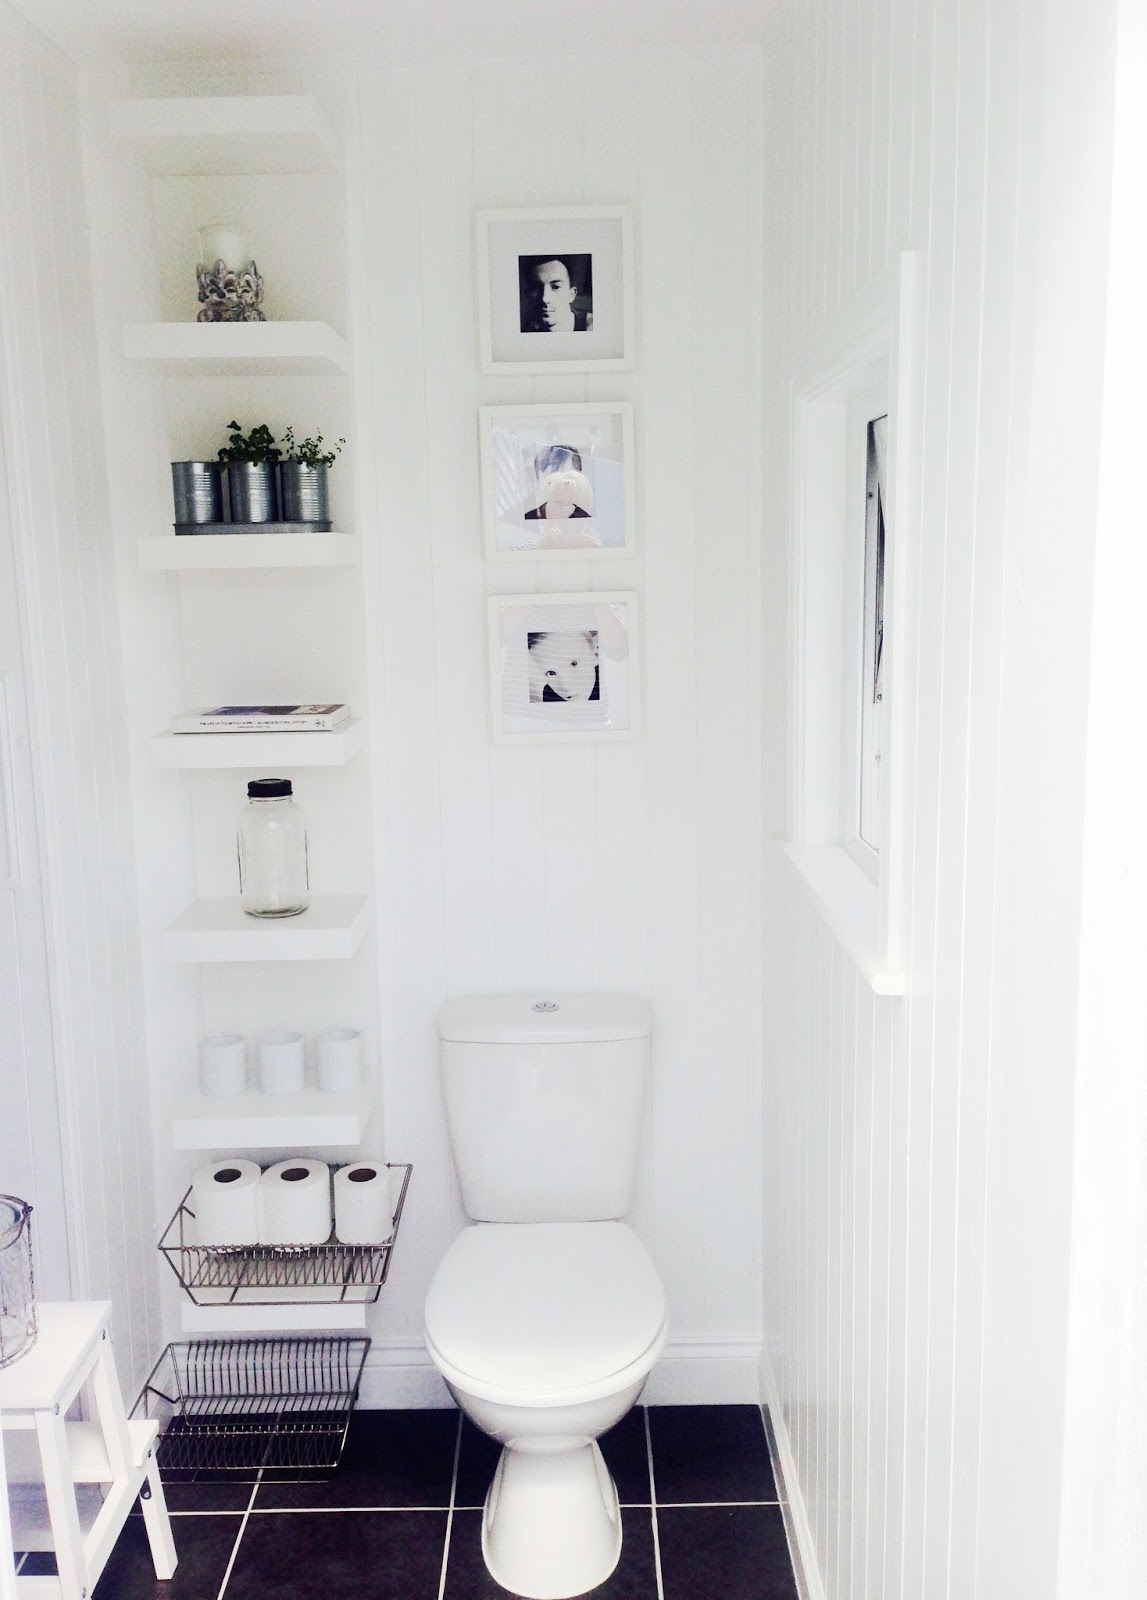
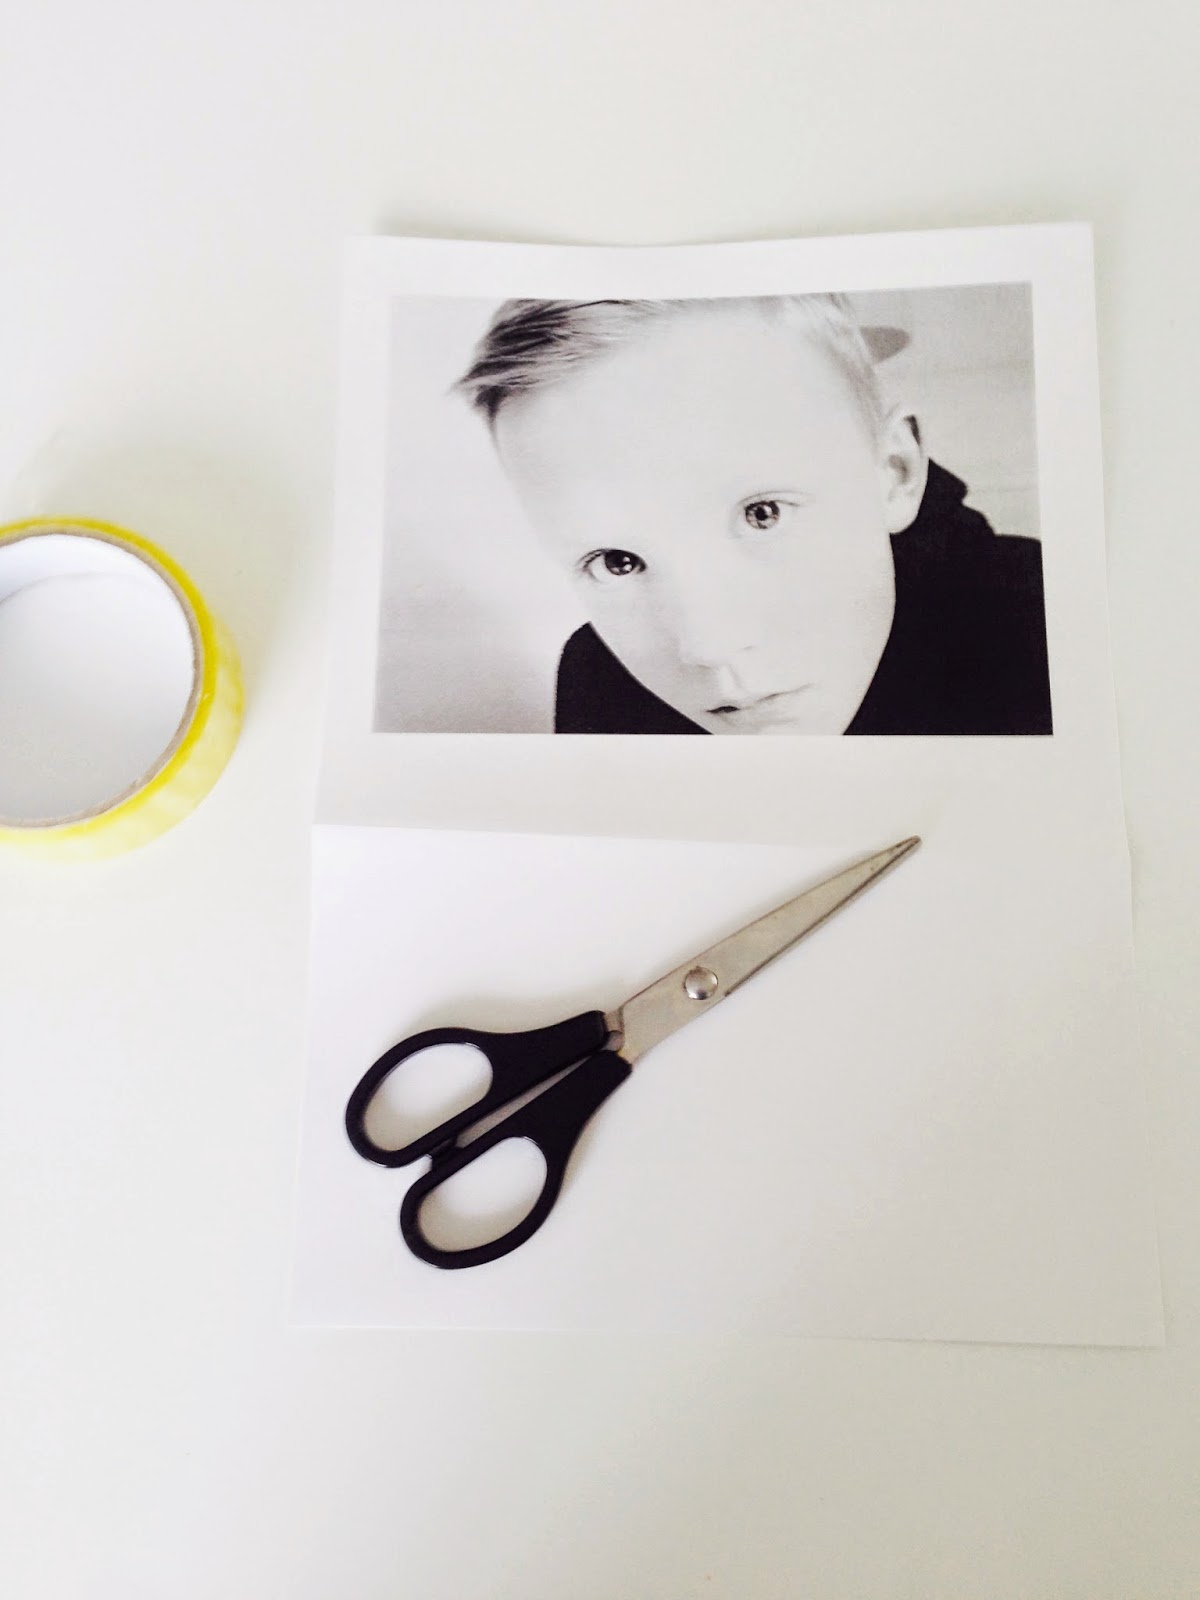
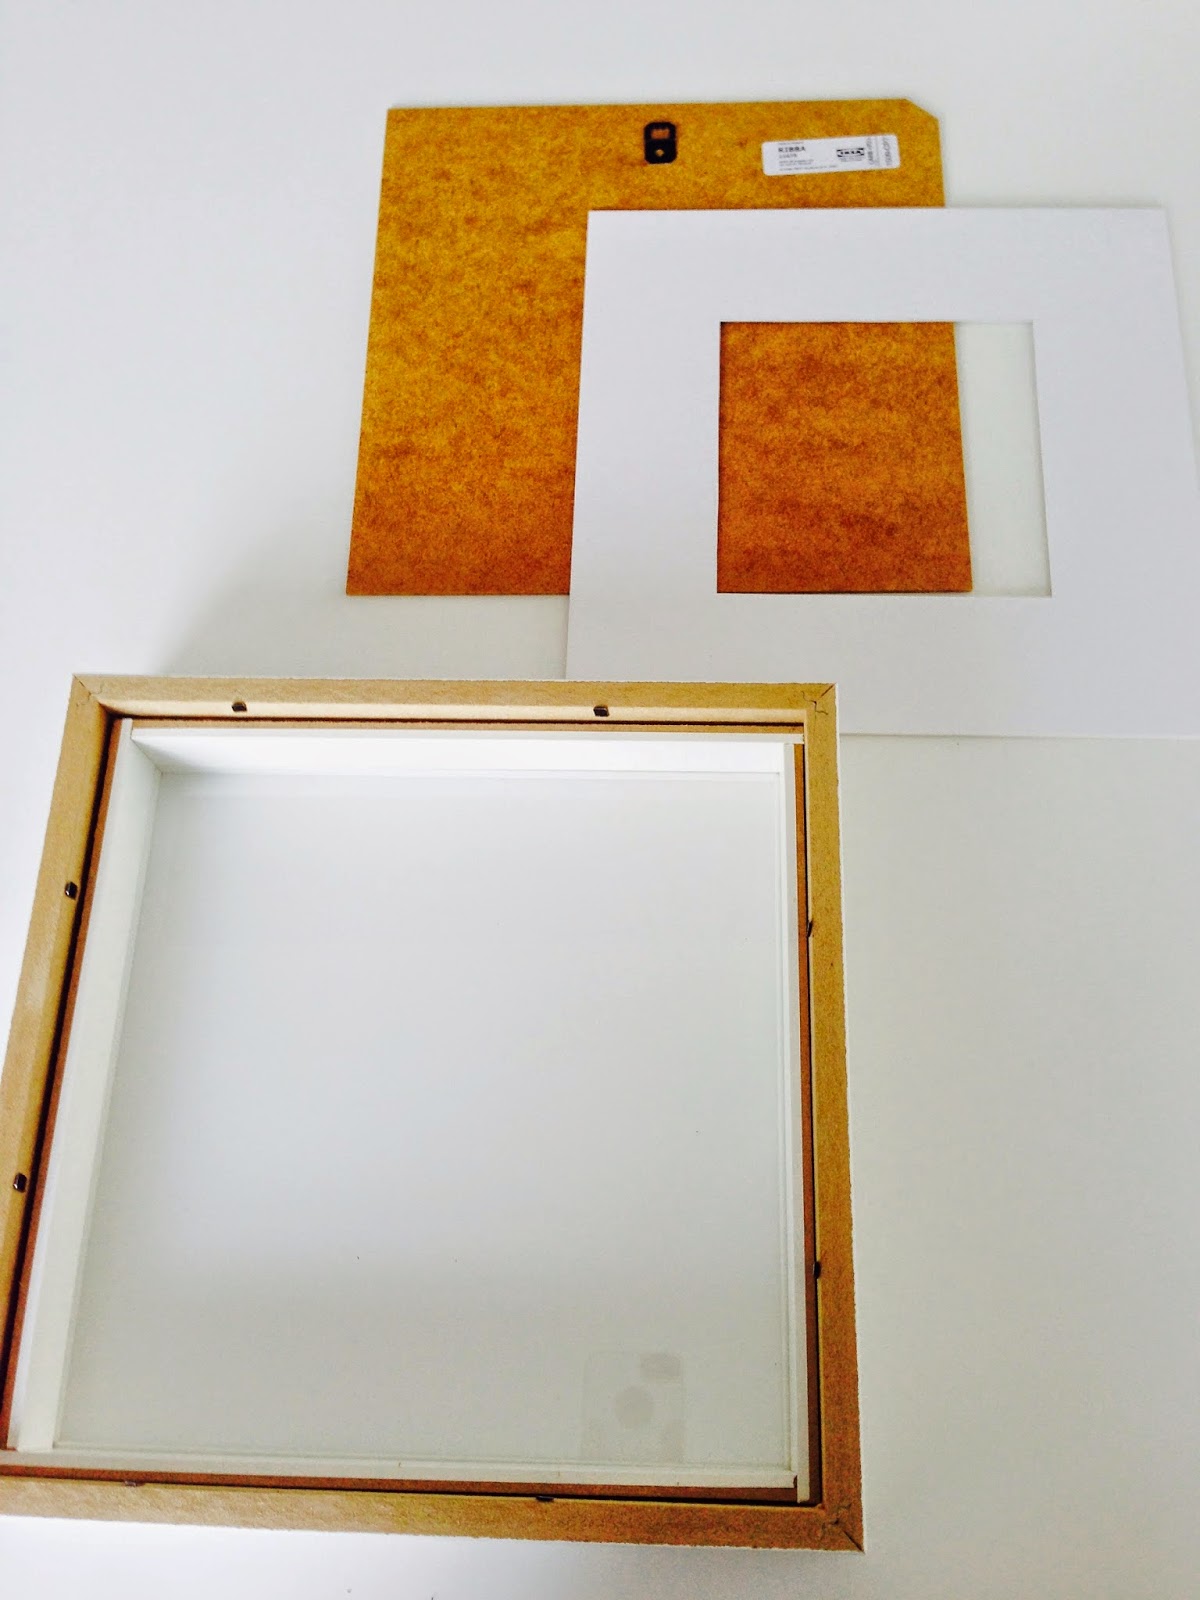
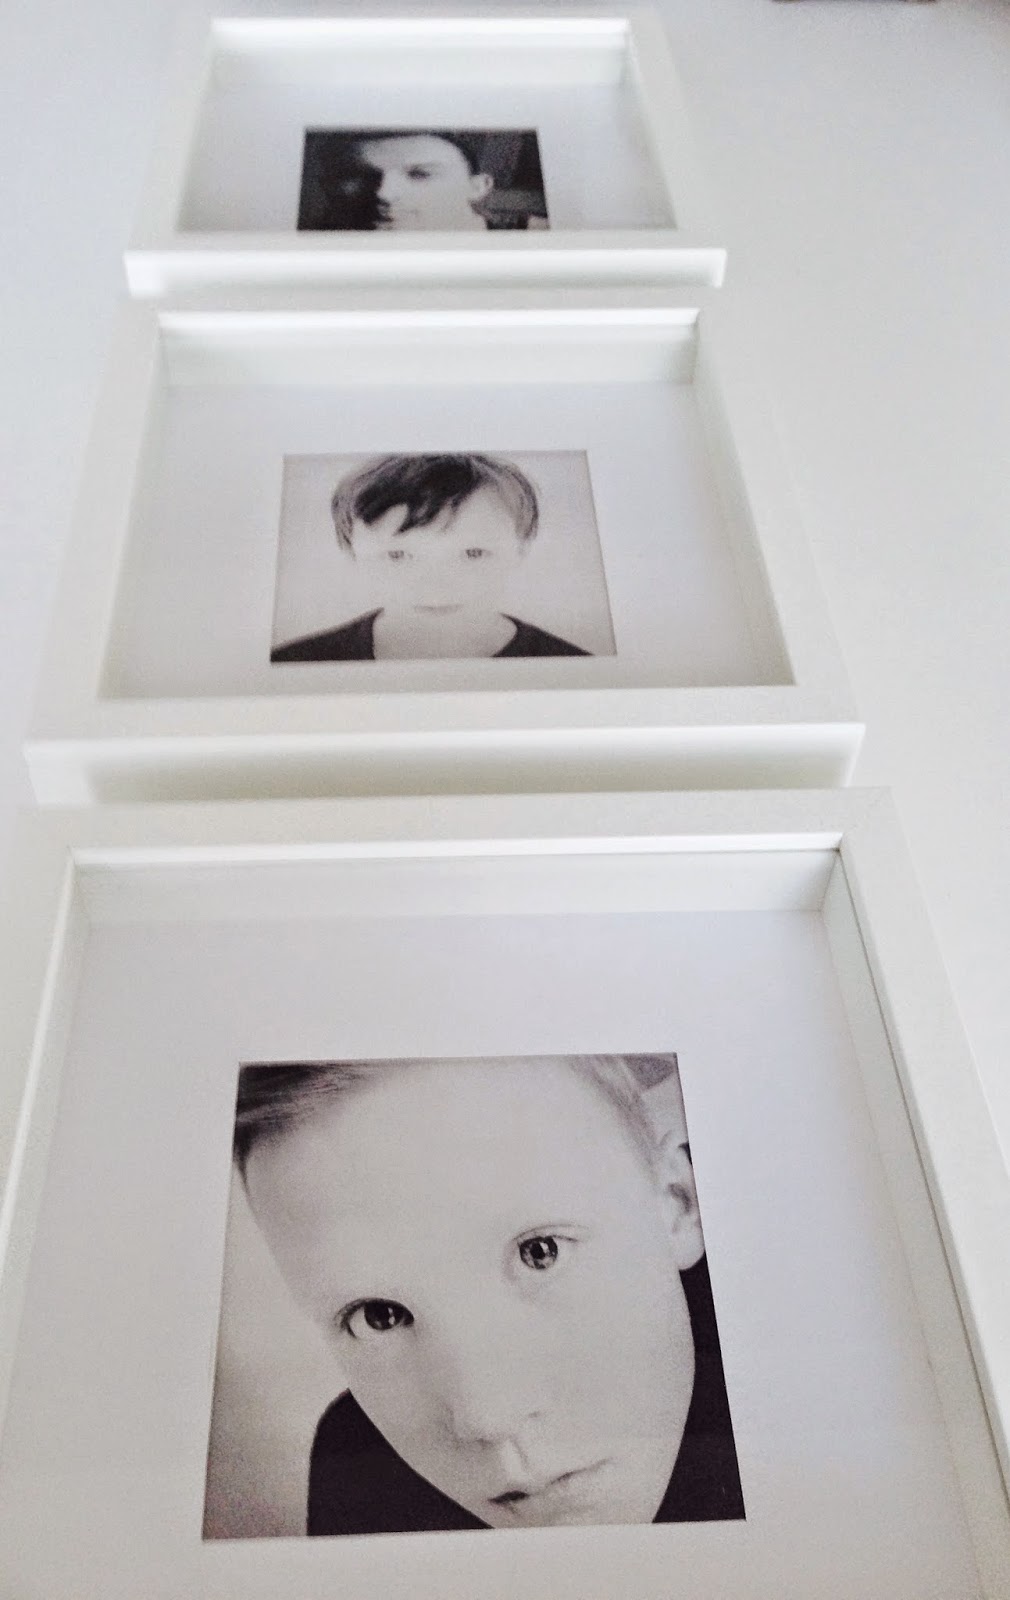
The view through the door !  I LOVE IT ! My hubby did an amazing job. New toilet ! We now have 3 toilets.  That should be enough with four men in the house.  The shelving is from IKEA and the black and white photo art I made myself.  See the post on how easy it was HERE


It was really important to me to make the most of the small space.  A priority was to have somewhere to hang washing to dry when the weather was bad.  With my almost finished new kitchen dining room I did not want to go back to having wet clothes draped all over radiators around the house.  We found this fantastic modular system again at IKEA that you can build as many or as few shelves, baskets rails etc that you want.  Its perfect for what I wanted to do.    Because its a small space I wanted to make good use of as much of the wall space as possible, so put the broom and dustpan and brush on the wall.  The bag from The White Company holds old towels and rags for cleaning the floor and shoes .


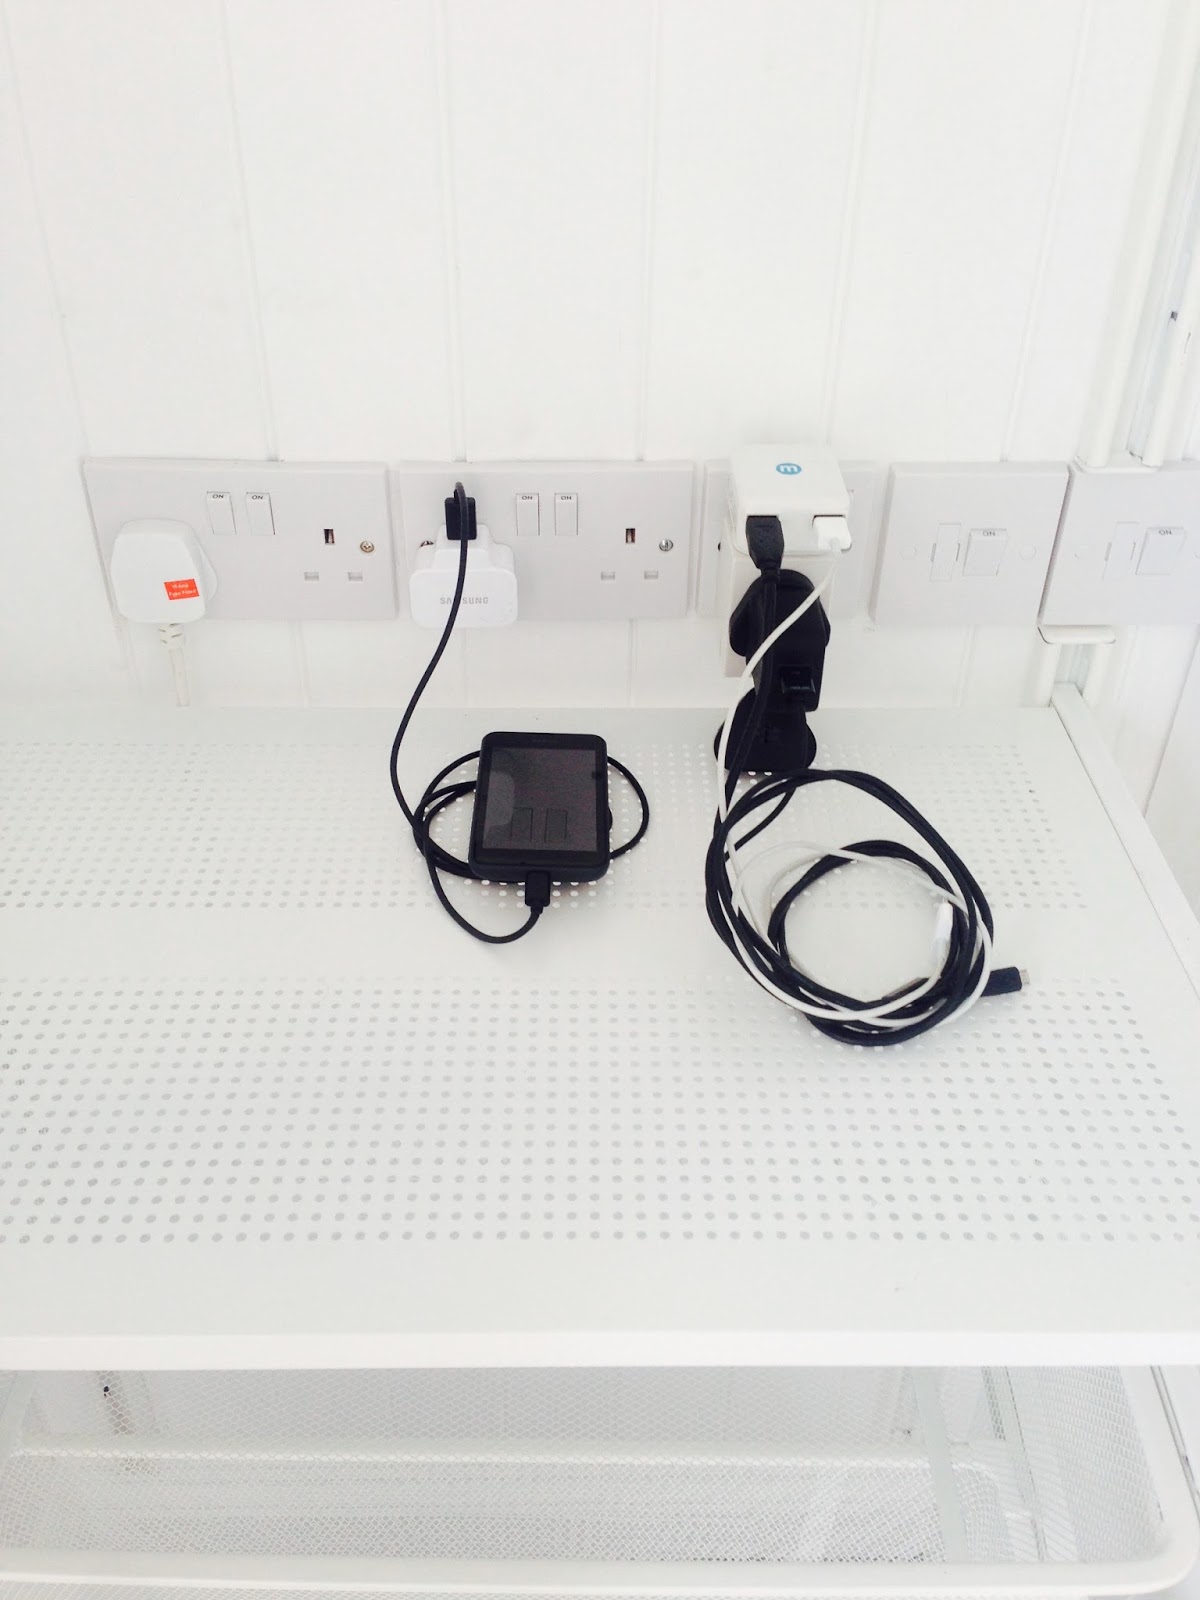
Another thing that irritates me is chargers and plugs in EVERY socket around my home so insisted we had what we now call a  "charging station" ha!  Plug sockets and a shelf but it did the job.   It didn't take long to train them all to put their phones and tablets on charge in the Utility room.


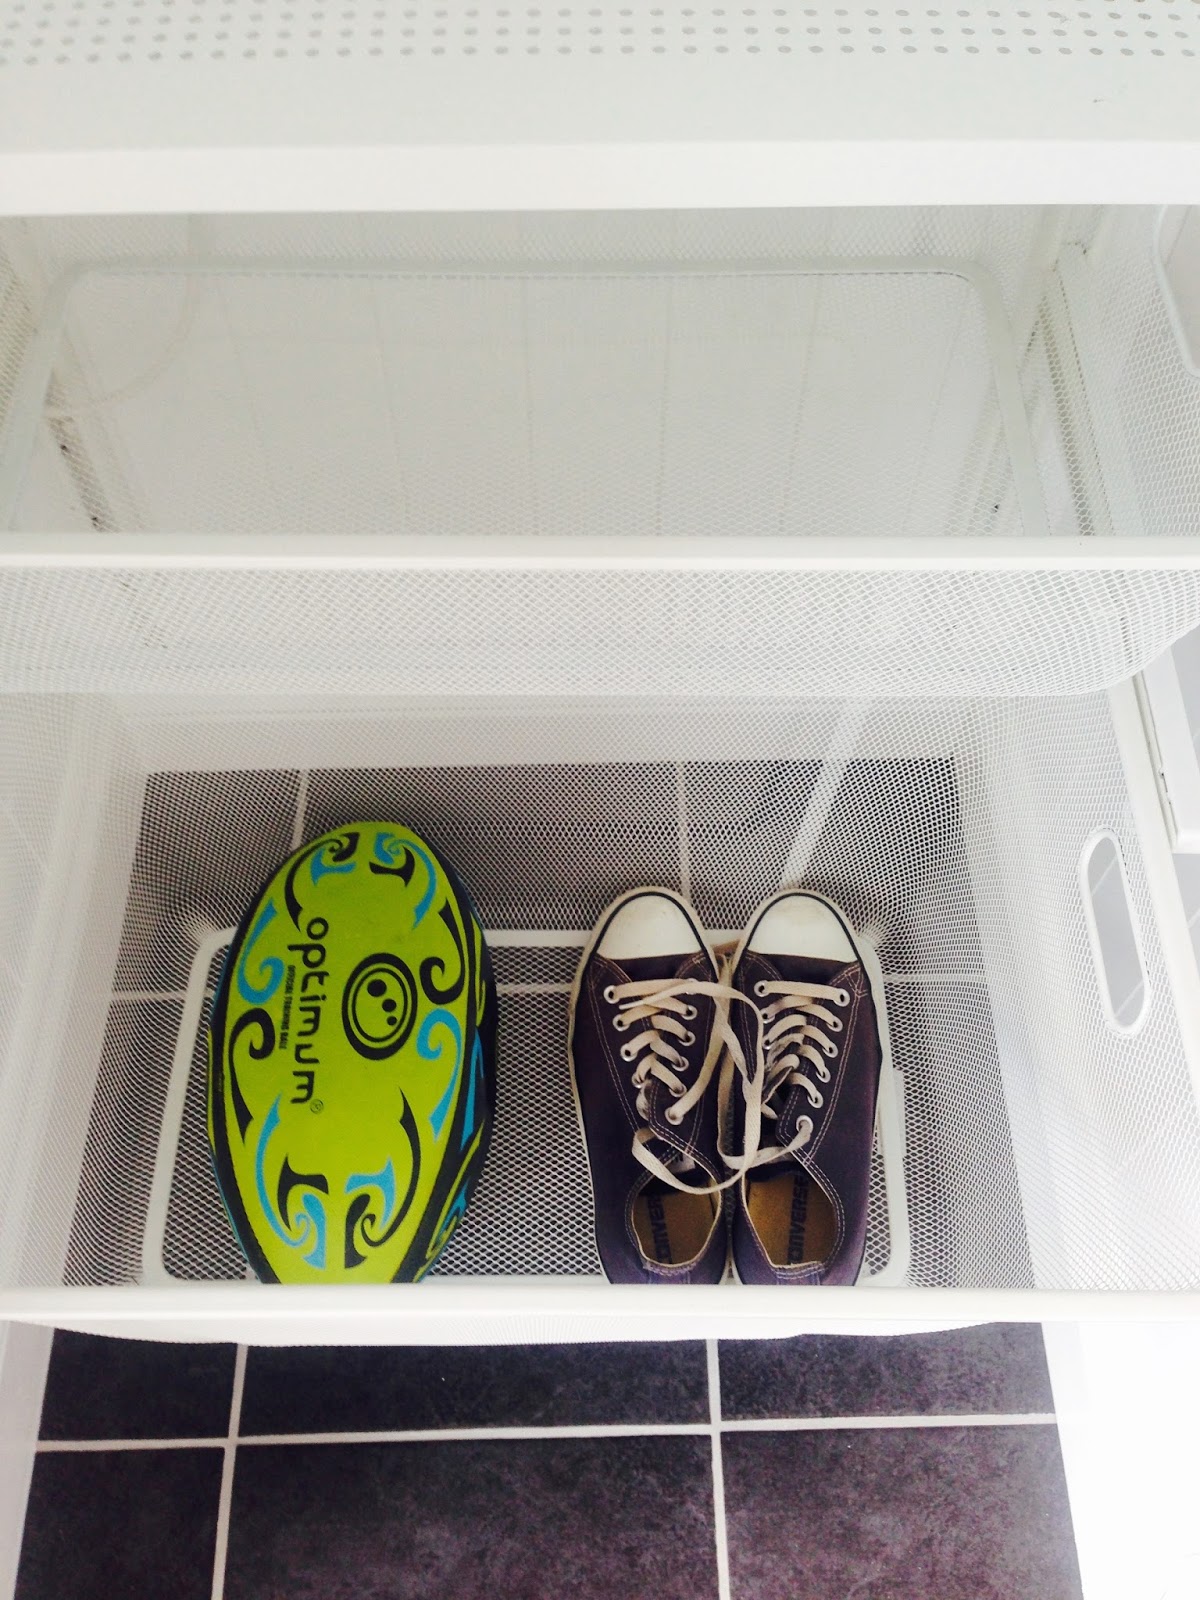
Loads of storage baskets for balls and smelly shoes.


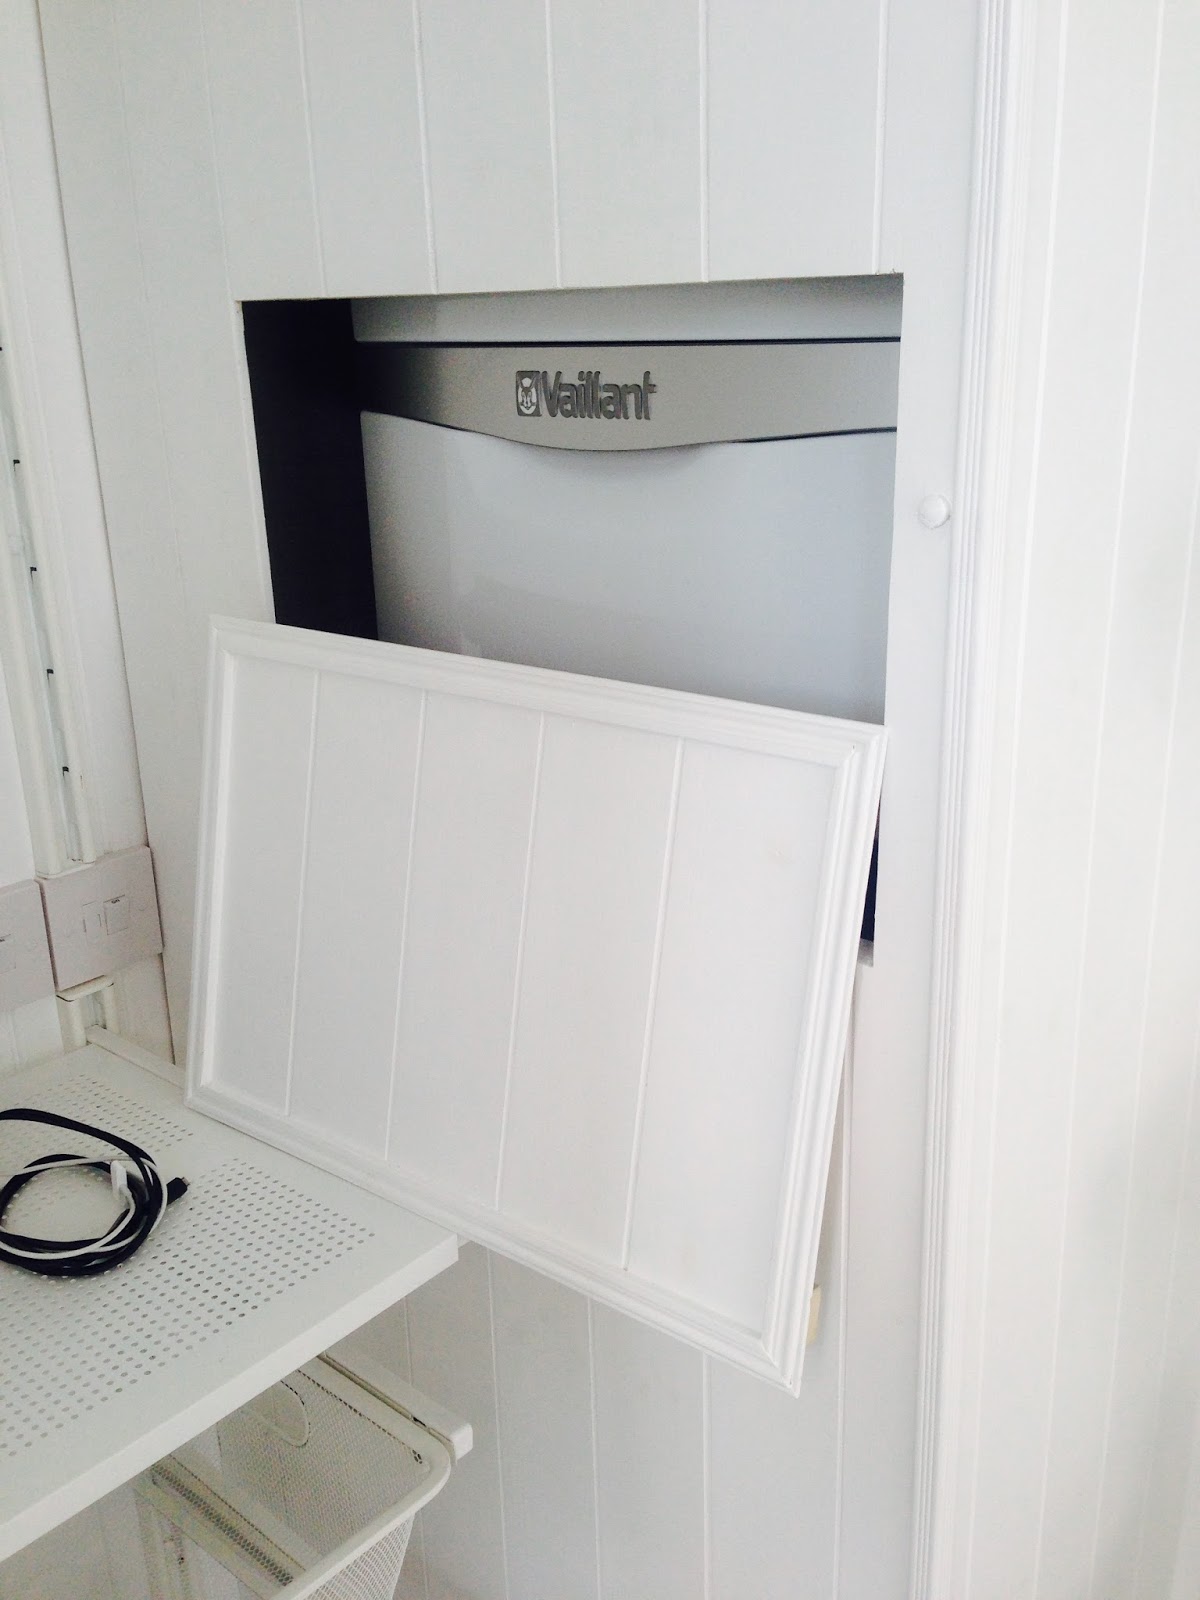
The new boiler is boxed in and has its own magnetic catch door for easy access.

That's it !

 All finished and an absolute dream of a space now.  


The Utility Room Renovation ( Part Two)


I say it often, but I really can't believe how talented my husband is.  The utility room is almost finished and it really is a transformation.

Affordable Photographic Wall Art


I've always loved black and white photography. It seems to capture something about the subject that colour photographs don't.  My favourite picture of all time was a black and white one of me and my son on my wedding day.  These days I click away with my phone on a daily basis, storing hundreds and hundreds of pictures of my family.  On a recent visit to my mum's home and seeing all the photographs she has on display, I realised how few photographs we actually have around our own home.  Thanks to the nifty filters on my phone I am able to get all sorts of  effects so decided to print three black and white images of the boys and make them into wall art for the new utility room wall.


I bought these great value Ribba frames on a recent trip to IKEA.  perfect for the job. Really easy to take apart.


We had some photo quality paper at home.  I downloaded the photographs from my phone onto the computer and printed them off.  Cut them to size and stuck them onto the white mount.


Put the picture back together again.  Took me about 10 minutes to do all three.


 Can't wait to get them up on the new utility room wall.


March #StyleWise DIY Artwork


For this months #Stylewise post I decided to have a go at some DIY Art.